Tips to Fix Temperature Display Damages in Your Car

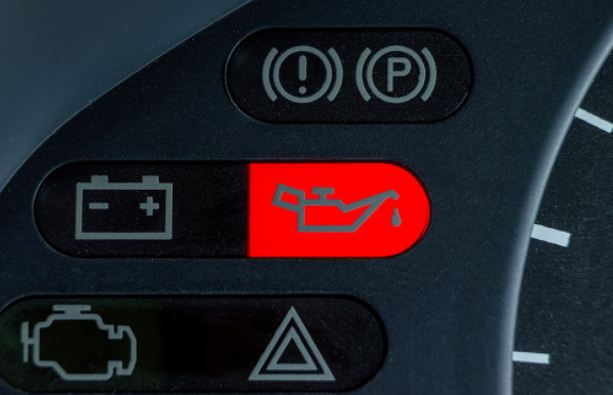
Nowadays, almost all car types have a temperature display. It is useful for users while driving the vehicle. It helps them prevent some severe issues. However, it would be bad if it broke suddenly. For instance, the digital compass and temperature display gradually disappeared. Touching the screen would temporarily reactivate the device, but the fade was irreversible. Most do-it-yourself could perform this task normally, saving money and learning valuable skills in the process. For this step, you might need to use a gas solder iron to be able to do it properly. If you plan to do it, you should read more here.
Diagnosis
If tapping or touching the device or screen temporarily resolves the fade, the culprit is a loose connection. Sooner or later, the connection deteriorates and a permanent fix is a must. In general, anything you can imagine assembled by anyone or any machine can be disassembled, except for components that are permanently glued, wrapped, or riveted. After that, you could try to pull the tab, and the bracket begins to pull away from the roof. Then tighten the matches to start the two tabs that hold it attached to the roof. The bracket will probably be hanging from the primary electrical wiring harness along with the roof motor connector. Finally, you can evaluate the damages and determine the actions you should take.
Assembly
According to your diagnosis, you might have the solution for the issues. The tap is mounted on a slider that, once you know which way to push it, is fairly easy to disconnect. As for the engine cap, loosening the Torx screws and removing and replacing the cap will make it easier for you to operate the pressure clamps. With the console in hand, you can now move the task to a table. Insert your soldering iron and set it aside. Remove the 13 Torx screws and separate the individual components from the console. Now, the house, main wiring, and the ceiling light wiring can be set apart as a unit, along with the green circuitry left to you.
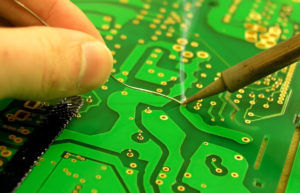 These resistors are there to measure the voltage required by the screen, and they do this by dissipating energy in the form of heat. It would be better to examine the solder joints with a marker and found that the resistors were stable. Heating the flux along with the additional solderless mat served to “clean up” some imperfections in the previous connections. Be careful not to burn the board, melt the resistor or add debris. Therefore, you could apply some clean flux to the joint before soldering to promote an even flux.
Disassembly
Using a wonderful collection of soldering iron-containing silver available from Radio Shack, you can make the dulling suggestion and also run the soldering iron on the joint for 2 seconds. Before disassembly, it makes sense to look at your work. Thread the display wiring harness onto the circuit board. Mount the circuit board, the additional top wiring, and the significant wiring and drive the vehicle. Start the vehicle and check to see if the oscillating display works. It would be better to repeat the soldering steps again or perhaps use the same technique on other solder joints on the board. Besides, before connecting the main bus, close the car doors, turn off the car lights and make sure the courtesy lights are off. When the significant bus is connected, start the car and make sure the console light switches are working properly.…